A view can be changed or defined to suit your needs. This topic describes how you can set a filter to define which rows appear in your view.
Create a view: set a filter
Step 1. In a view, click View, then Set Filter, a pop-up appears:
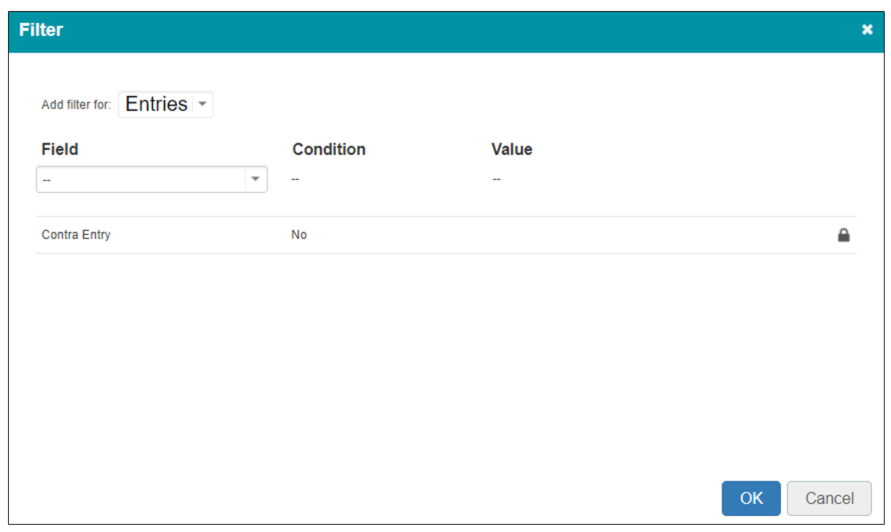
Pop-up Set filter
Step 2. To add a filter to the view, select a field, a condition and optionally a value, and click Add filter.
Step 3. To add a filter on a different object to the view, in the top of the pop-up click on the object name. From the drop-down list select the object you want use, then select a field, a condition and optionally a value, and click Add filter.
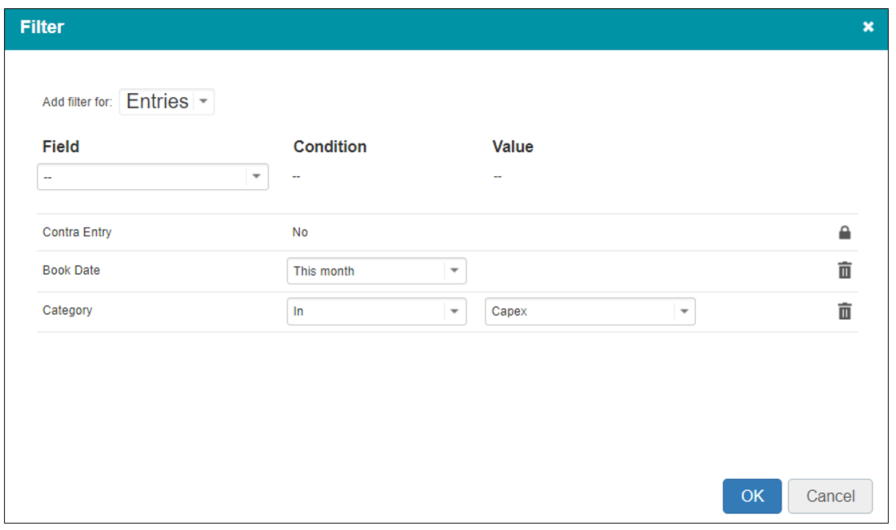
Adding a filter on another object to the view
Note: if no drop-down list appears it is not possible to set a filter on another object.
Step 4. To remove a filter from the view, click ![]() behind the filter.
behind the filter.
Note: When a lock symbol is shown in front of a filter that specific filter cannot be removed.
Step 5. When you are done, click OK.
Step 6. The view appears on your screen with the name "-- Custom view --". You can save the view for re-use, see Save a view for re-use.